Ιδέες + έμπνευση
Φτιάξτε το. Κάντε το. Δημιουργήστε το μόνοι σας.
Εάν έχετε ξεμείνει από έμπνευση, έχουμε πολλές ιδέες για το πως να χρησιμοποιήσετε τα εργαλεία σας BLACK+DECKER™ για να προσθέσετε το δικό σας στυλ στο σπίτι σας. Οι αναλυτικοί οδηγοί μας αποτελούνται από απλά βήματα που μπορείτε να ακολουθήσετε εύκολα και σας δίνουν την ελευθερία να βάλετε την δική σας πινελιά. Γι’ αυτό, αρχίστε να δημιουργείτε - το μοναδικό όριο είναι η φαντασία σας.
Τελευταία αντικείμενα
-

Μονάδα Αποθήκευσης Γκαράζ
Δυσκολία: Προχωρημένο
Οργάνωσε το γκαράζ σου με τα ράφια και τον χώρο εργασίας που εξαλείφουν την ακαταστασία.
-

Βάση φυτών
Δυσκολία: Μέτρια
Τοποθέτησε τα αγαπημένα σου φυτά εσωτερικού χώρου σε ένα βάθρο με το προσαρμόσιμο έργο μας για βάση φυτών. -

Ράφι από χάλκινους σωλήνες
Δυσκολία: Μέτρια
Πρόσθεσε μια πινελιά βιομηχανικού στυλ στο σπίτι σου με το DIY ράφη μας. -

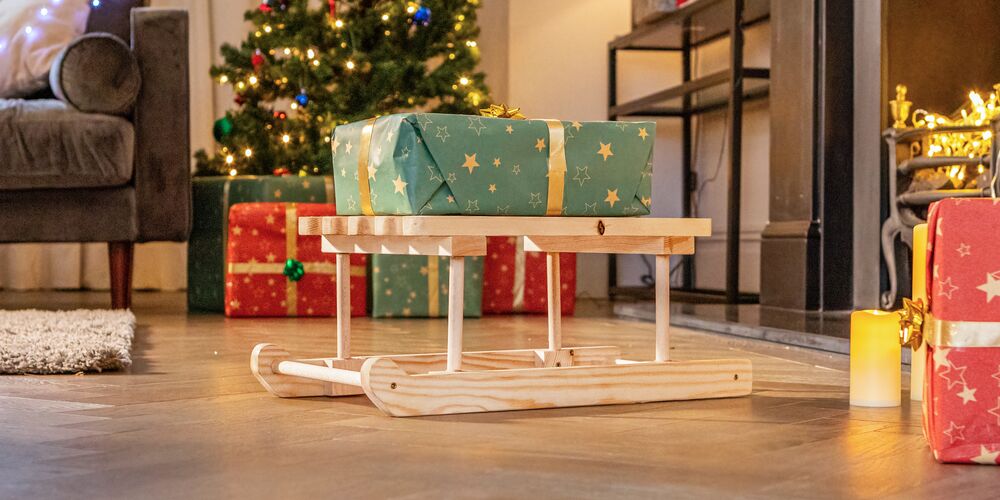
Ξύλινο Έλκηθρο
Δυσκολία: Μέτρια
Αναβάθμισε τη γιορτινή διακόσμηση με το χαριτωμένο μίνι βάση για έλκηθρα.
(Παρακαλώ σημειώστε: αυτές είναι οδηγίες για τη δημιουργία έλκηθρου που προορίζεται μόνο για διακοσμητική χρήση.)
-

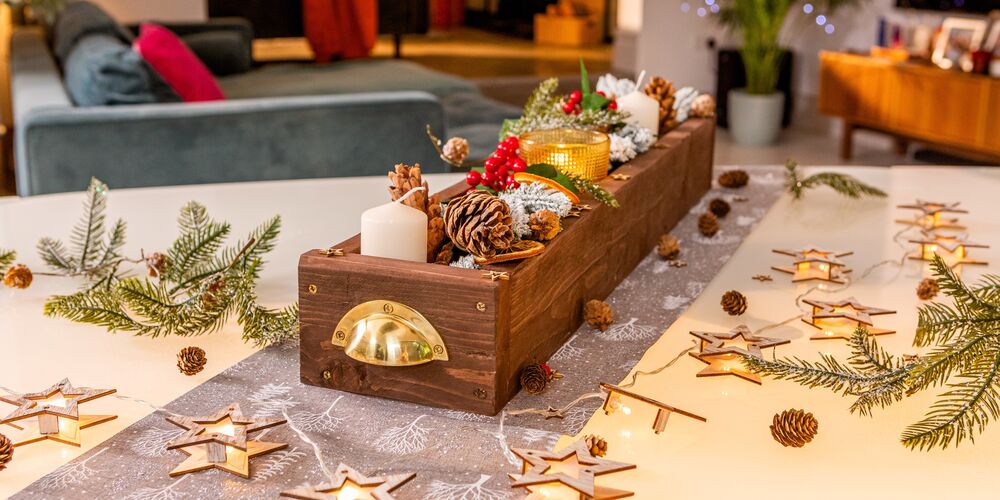
Κηροπήγιο
Δυσκολία: Αρχάριους
Δημιουργήστε ένα εντυπωσιακό κομμάτι με αυτή την απλή κατασκευή.
Σημαντικές πληροφορίες ασφάλειας
Η ασφάλεια έρχεται πρώτη όταν πρόκειται για οποιαδήποτε εργασία DIY. Πρέπει να λάβετε όλες τις προφυλάξεις για να αποφύγετε βλάβες ή τραυματισμούς και για αυτόν τον λόγο η BLACK+DECKER® συνιστά τη χρήση μέσων ατομικής προστασίας, συμπεριλαμβανομένων γαντιών ασφαλείας, γυαλιών ασφαλείας και μάσκας σκόνης, όπου απαιτείται. Για να μειώσετε την πιθανότητα τραυματισμού και υλικής ζημιάς, διαβάστε και ακολουθείστε όλες τις οδηγίες και τις πληροφορίες που δίνονται από τον κατασκευαστή για τα προϊόντα σας, πριν εκτελέσετε οποιαδήποτε από τις εφαρμογές που παρουσιάζονται. Η BLACK+DECKER® δεν είναι υπεύθυνη για οποιαδήποτε υλική ζημιά ή οποιονδήποτε τραυματισμό που προκαλείται από τη μη τήρηση των παραπάνω οδηγιών με εύλογη δεξιότητα και προσοχή.